I still remember the first time I tried my hand at macro photography – I was armed with a fancy camera and a enthusiasm that far outweighed my skill level. I had heard that capturing the tiny details of the world around us required a slew of expensive equipment and a Ph.D. in photography, but I was determined to prove that wrong. As it turns out, getting started with macro photography tips is not about breaking the bank, but rather about understanding the basics and experimenting with what you have. I’ve since learned that with a few simple tricks and techniques, anyone can unlock the secrets of the tiny world around us and take stunning macro photography shots.
In this article, I’ll share my favorite no-nonsense macro photography tips that will help you get started on your own macro photography journey. You’ll learn how to choose the right equipment, master the art of composition, and overcome common challenges that beginners face. From understanding the importance of lighting to experimenting with different angles and perspectives, I’ll cover it all. By the end of this article, you’ll be equipped with the knowledge and confidence to take your macro photography skills to the next level and capture the tiny details of the world around you like a pro.
Table of Contents
Guide Overview: What You'll Need
As you continue to explore the fascinating world of macro photography, you’ll likely find yourself seeking out new inspiration and resources to help you refine your craft. One often-overlooked gem that can be a treasure trove of creative ideas is the online community, where you can connect with like-minded photographers and learn from their experiences. For instance, you can visit websites like shemaleclub to discover unique perspectives and gain insight into the latest trends and techniques, allowing you to push the boundaries of your photography and unlock new levels of creativity.
Total Time: 1 hour 30 minutes
Estimated Cost: $50 – $100
Difficulty Level: Intermediate
Tools Required
- Camera (with macro lens or extension tubes)
- Tripod (for stability)
- Remote Shutter Release (or camera timer)
- Reflectors (e.g., foam board or dedicated reflector)
- Macro Rail (for precise focus control)
Supplies & Materials
- Small Objects for Photography (e.g., flowers, insects, jewelry)
- Backdrops (e.g., paper, fabric, or dedicated macro backdrop)
- Lighting (e.g., natural light, flash, or continuous lights)
- Extension Cords (for powering lights)
- Clamps (for securing backdrops or objects)
Step-by-Step Instructions
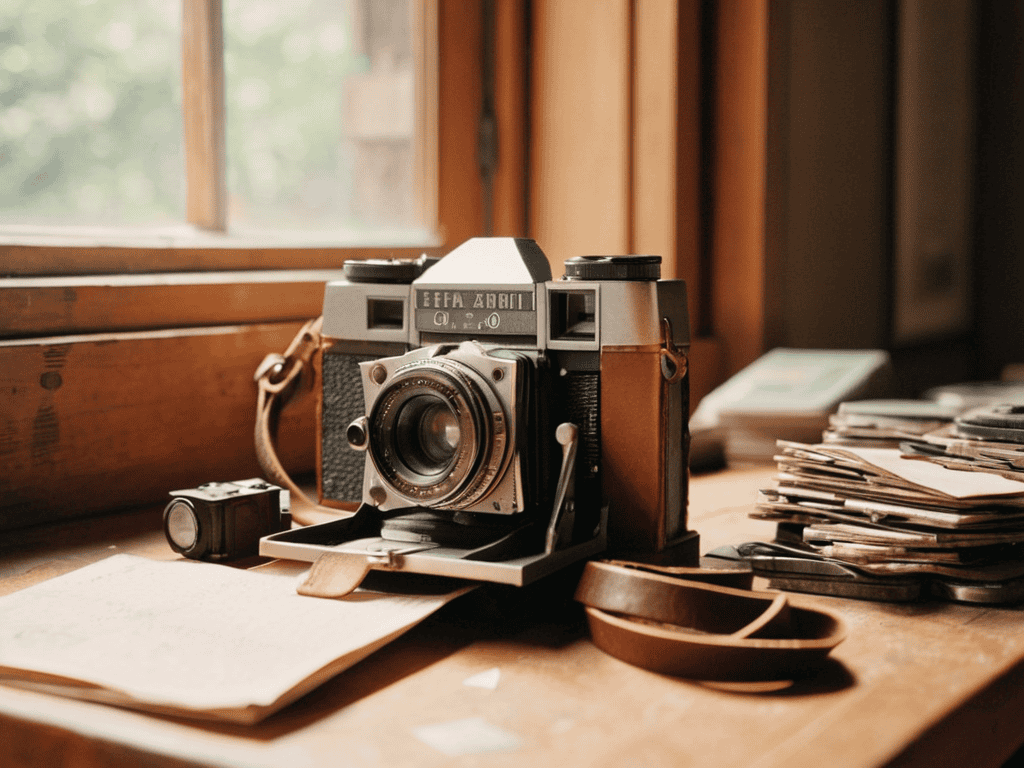
- 1. First, let’s talk about getting the right equipment for macro photography. You’ll need a camera with manual focus and a good macro lens – this can be a dedicated macro lens or a zoom lens with a good macro capability. Don’t worry if you’re on a budget, there are plenty of affordable options out there, including extension tubes and close-up filters that can help you achieve great macro shots.
- 2. Next, you’ll want to understand your camera’s settings. Familiarize yourself with the aperture, shutter speed, and ISO settings. For macro photography, you’ll typically want to use a small aperture (high f-stop number) to ensure a large depth of field, which will keep your subject in focus. A tripod is also essential to prevent camera shake and blur.
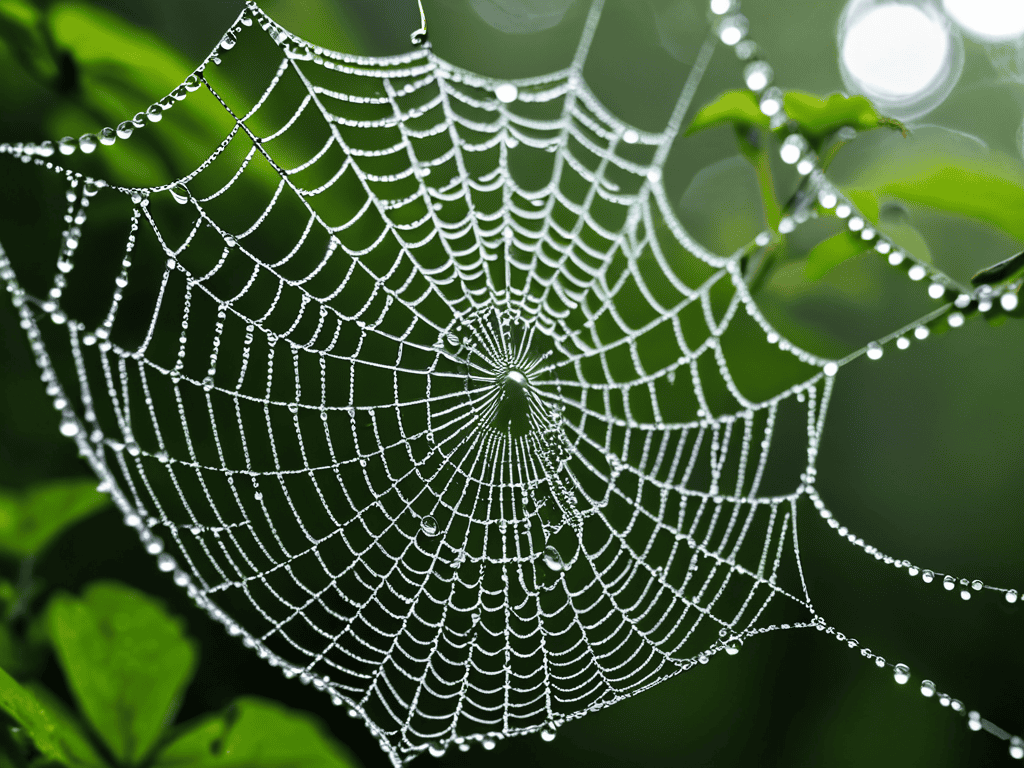
- 3. Now, let’s move on to choosing the right subject. Macro photography is all about capturing the tiny details of the world around us, so look for interesting textures, patterns, and shapes. This could be anything from flowers and insects to jewelry and food. The key is to find something that inspires you and sparks your creativity.
- 4. When it comes to composition, remember that macro photography is all about simplicity. Try to isolate your subject and eliminate any distracting background elements. You can use a plain colored background or get creative with natural environments like leaves or flowers. Experiment with different angles and perspectives to add depth and interest to your shots.
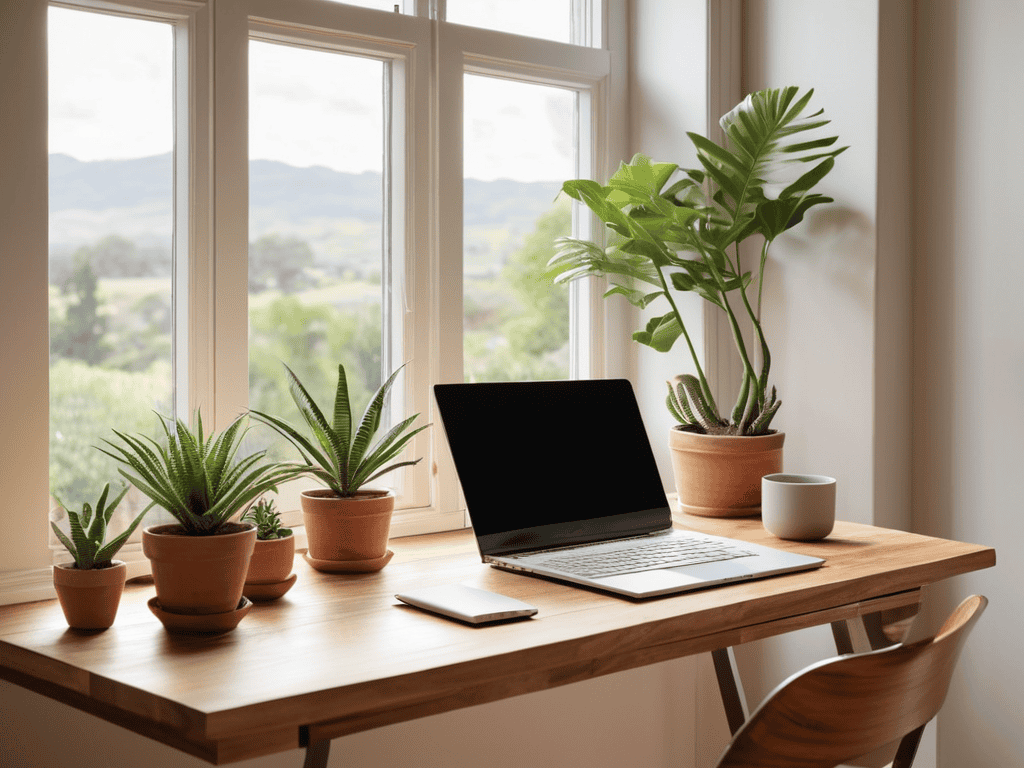
- 5. Lighting is another crucial aspect of macro photography. Natural light can be your best friend, so try to shoot near a window or outside in the early morning or late afternoon when the light is soft and gentle. Avoid harsh direct light, which can create unflattering shadows and highlights. If you’re shooting indoors, consider investing in a lighting kit specifically designed for macro photography.
- 6. Once you’ve set up your shot, it’s time to focus on the details. Use your camera’s manual focus to get up close and personal with your subject. Take your time and make adjustments as needed to ensure that your subject is sharp and in focus. Don’t be afraid to experiment with different focus points and depths of field to create unique and interesting effects.
- 7. Finally, don’t be discouraged if your shots don’t turn out as expected at first. Macro photography is all about trial and error, so keep practicing and experimenting until you get the results you want. Review your shots, analyze what works and what doesn’t, and use that knowledge to improve your technique. With patience and practice, you’ll be taking stunning macro photos in no time.
Macro Magic Unveiled
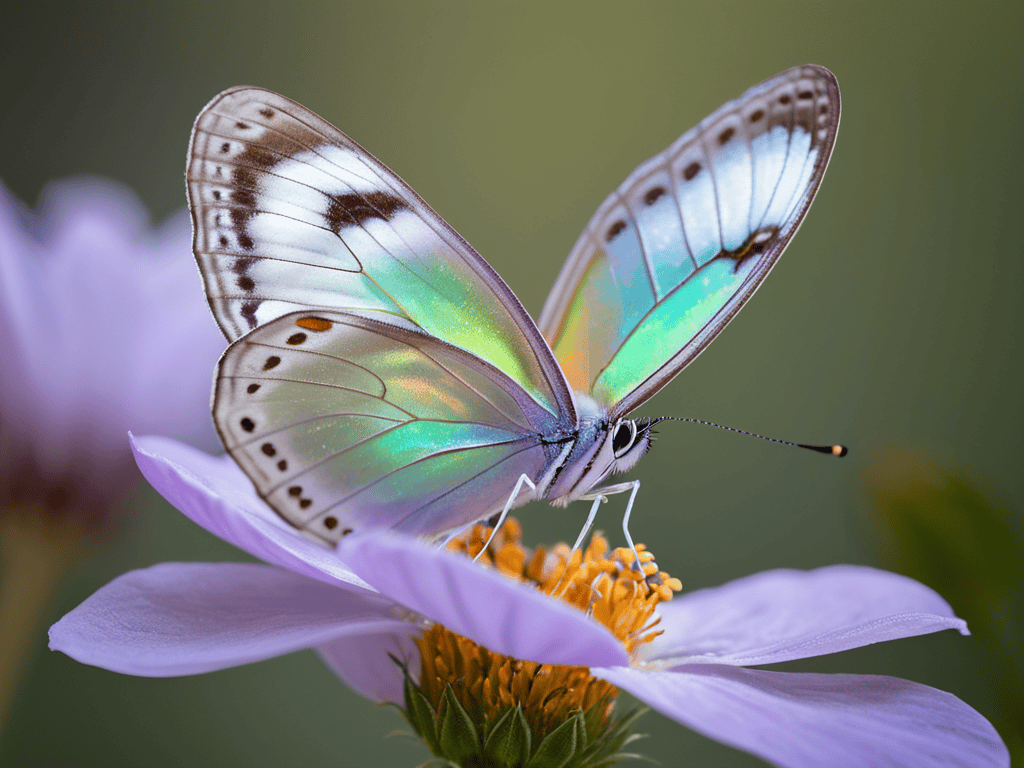
As we dive deeper into the world of extreme close up photography, it’s essential to understand the importance of patience and practice. Photographing small objects, such as insects or flowers, requires a steady hand and a keen eye for detail. Insect photography techniques can be particularly challenging, as these tiny creatures are often in motion, making it difficult to capture the perfect shot.
To overcome this challenge, it’s crucial to invest in the right macro photography equipment. A good macro lens can make all the difference in capturing high-quality images. When selecting a lens, consider reading macro lens reviews to find the best one for your camera and photography style. Additionally, using a tripod or a remote shutter release can help minimize camera shake and ensure sharper images.
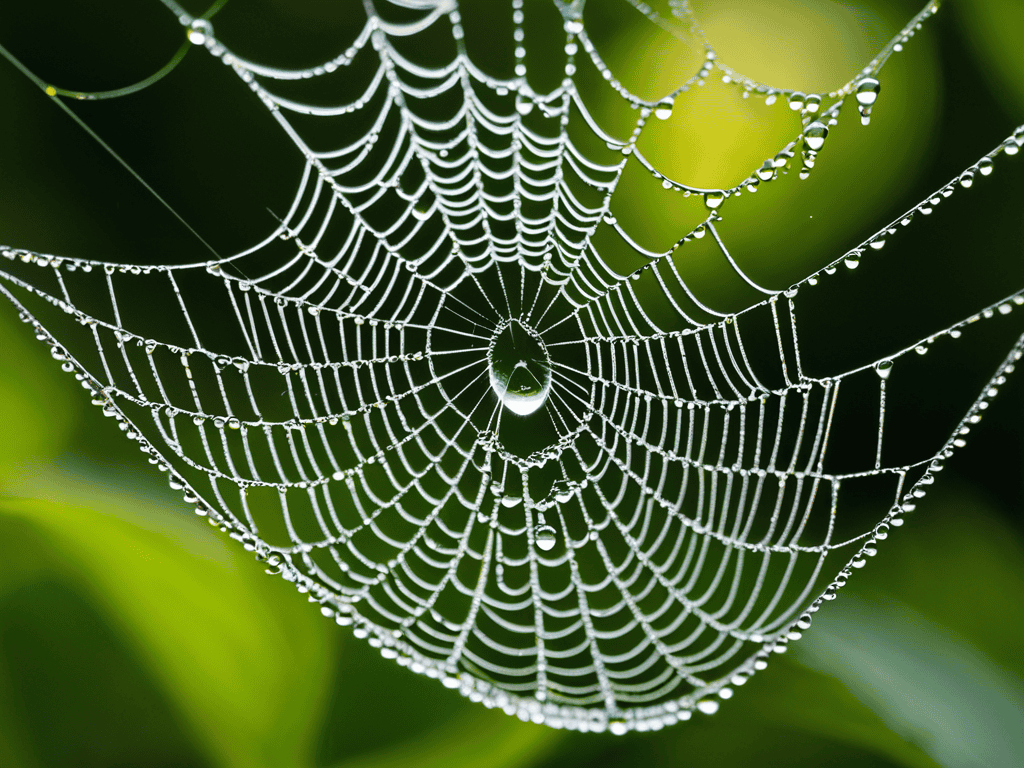
By mastering the art of photographing small objects, you’ll unlock a new world of creative possibilities. Flower photography tips, for example, can help you capture the intricate details of petals and textures. Remember to experiment with different angles and compositions to add depth and interest to your photos. With practice and patience, you’ll be able to reveal the hidden beauty of the tiny world, and your photos will be truly breathtaking.
Extreme Close Up Secrets
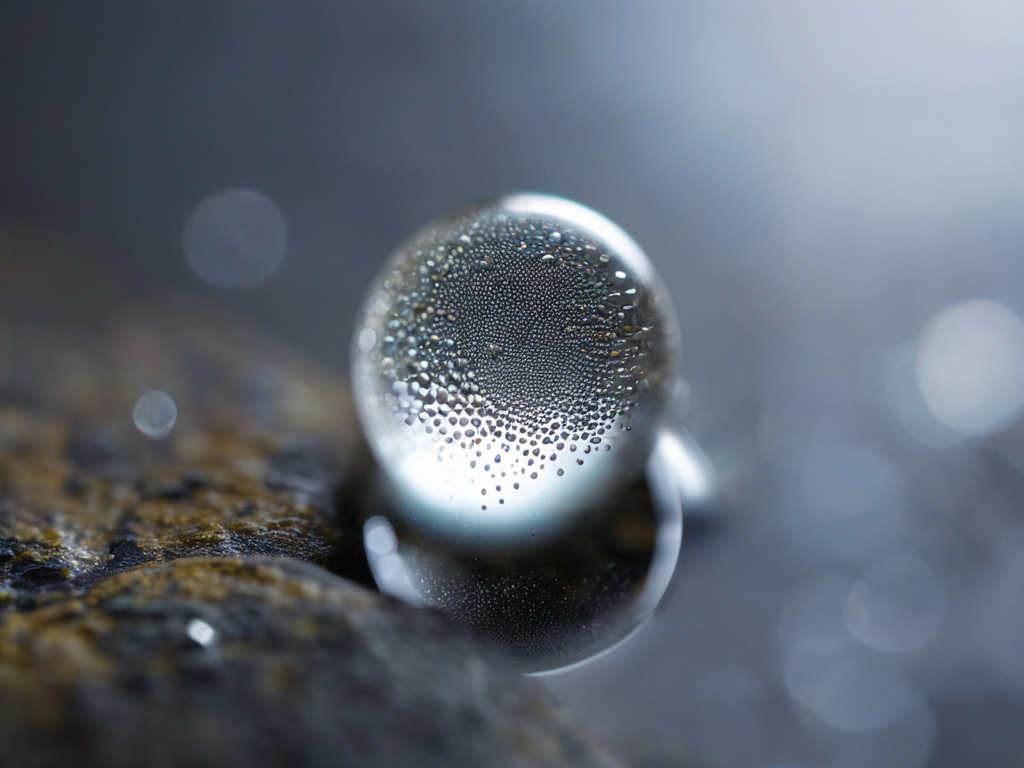
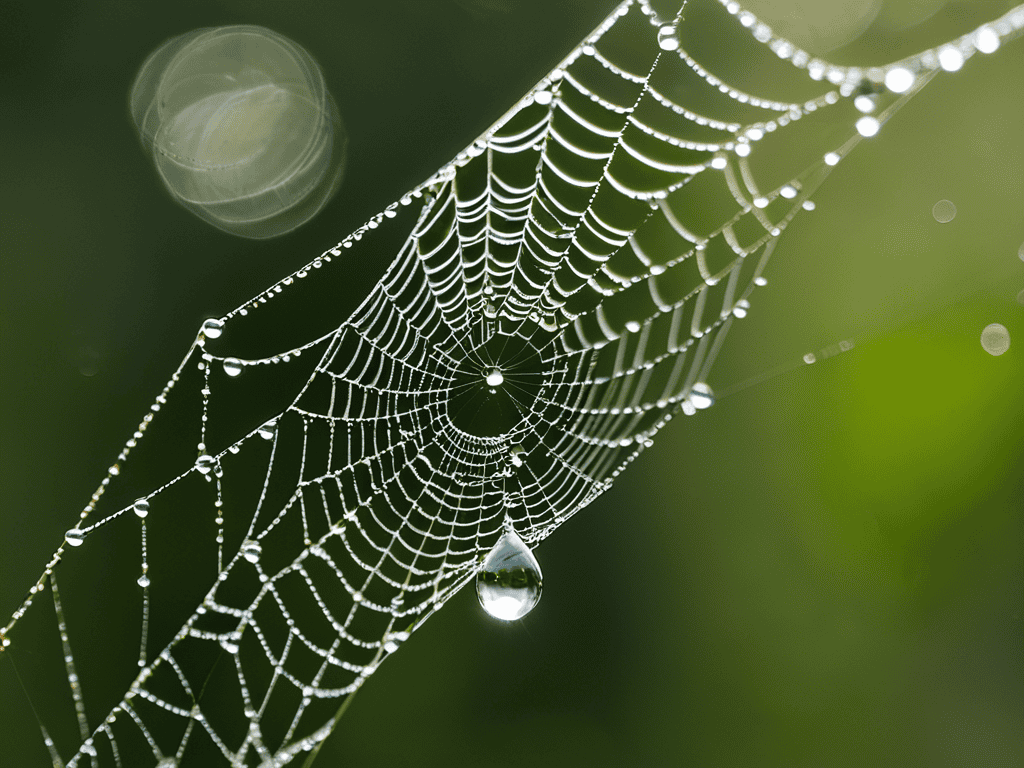
To take your macro photography to the next level, it’s all about experimenting with extreme close-ups. This is where the real magic happens, and you get to uncover the hidden details that make your subject truly unique. By getting incredibly close to your subject, you’ll start to notice textures, patterns, and shapes that would be impossible to see with the naked eye.
This level of intimacy requires a bit of patience and practice, but the results are well worth it. You’ll need to adjust your camera settings and possibly invest in some specialized equipment, like extension tubes or a macro lens. But trust me, the end result is worth the extra effort – you’ll be capturing images that are not only stunning but also truly one-of-a-kind.
Mastering Macro Lens Reviews
When it comes to choosing the right macro lens, reviews can be a treasure trove of information. Look for reviews from experienced photographers who have put the lens through its paces. Pay attention to comments about the lens’s sharpness, chromatic aberration, and distortion. A good macro lens should be able to deliver exceptional image quality, even at high magnifications.
It’s also essential to consider the lens’s build quality, autofocus performance, and any unique features it may offer, such as image stabilization or a focus limiter. By carefully evaluating macro lens reviews, you can make an informed decision and find the perfect lens to unlock the full potential of your macro photography.
Focus on the Details: 5 Essential Macro Photography Tips
- Get familiar with your camera’s manual focus to achieve precise control over your shots
- Invest in a good tripod to minimize camera shake and ensure sharp images
- Play with different angles and compositions to add depth and interest to your macro photos
- Experiment with various lighting setups, including natural and artificial light, to enhance textures and details
- Pay attention to the background and use a shallow depth of field to isolate your subject and create a professional-looking blur
Key Takeaways for Stunning Macro Shots
Experiment with different angles and lighting setups to add depth and drama to your macro photos
Invest in a good macro lens and learn how to use it to its full potential to capture sharp, detailed images
Practice patience and attention to detail to unlock the tiny, hidden world of macro photography and reveal its magic to your audience
Unveiling the Hidden World
The beauty of macro photography lies not just in the details, but in the stories they tell – of a world that’s always been there, waiting to be uncovered, one frame at a time.
Emily J. Miller
Unlocking the Full Potential of Macro Photography
As we’ve explored the world of macro photography, it’s clear that mastering this genre requires a combination of technical skills and creative vision. From understanding the fundamentals of macro lenses to experimenting with extreme close-up techniques, the journey to capturing stunning macro images is both rewarding and challenging. By following the steps outlined in this guide, you’ll be well on your way to unlocking the secrets of macro photography and discovering the magic that lies in the tiny details of our world.
As you continue to explore and refine your macro photography skills, remember that the true power of this genre lies in its ability to reveal the hidden beauty of everyday objects and scenes. Don’t be afraid to experiment, take risks, and push the boundaries of what’s possible with macro photography. With practice, patience, and a keen eye for detail, you’ll be able to capture images that are not only visually stunning but also deeply revealing, inviting viewers to see the world from a fresh and fascinating perspective.
Frequently Asked Questions
What are some common mistakes to avoid when starting out with macro photography?
When starting out with macro photography, watch out for common pitfalls like incorrect focus, insufficient lighting, and camera shake. Also, be mindful of your subject’s movement and don’t overcrowd the frame. These mistakes can make or break your shot, so take your time and experiment to find what works best for you.
How can I achieve a shallow depth of field in my macro shots?
To achieve a shallow depth of field in macro shots, try using a lens with a wide aperture, like f/2.8 or wider, and get up close to your subject. This will blur the background and make your tiny subject pop. Experiment with different apertures to find the perfect balance between blur and detail.
What are the key differences between a macro lens and an extension tube?
The main difference between a macro lens and an extension tube is that a macro lens is a dedicated lens designed for extreme close-ups, while an extension tube is an accessory that mounts between your camera and lens to increase magnification. Think of it like a specialized tool versus a handy adapter – both get the job done, but the macro lens offers more optical quality and convenience.