I still remember the first time I tried Screen Printing at Home – it was a disaster. I had watched a few YouTube videos, read some blogs, and thought I was ready to unleash my inner artist. But, as it often does, reality had other plans. The ink was too thick, the design was blurry, and the whole process was just a mess. It wasn’t until I took a step back, re-evaluated my approach, and started from scratch that I began to get the hang of it. Now, I’m excited to share my journey and the lessons I’ve learned with you, so you can avoid the same pitfalls and start creating amazing designs with Screen Printing at Home.
In this article, I’ll cut through the noise and give you the honest, no-hype advice you need to get started with screen printing at home. You’ll learn how to prepare your design, mix the perfect ink, and troubleshoot common issues that can ruin your print. I’ll share my favorite tips and tricks for achieving professional-looking results without breaking the bank. By the end of this guide, you’ll be equipped with the knowledge and confidence to start creating your own unique designs and printing them with ease. So, let’s dive in and get started on this creative journey together, and make Screen Printing at Home a fun and rewarding experience.
Table of Contents
Project Overview

Total Time: 2 hours 30 minutes
Estimated Cost: $50 – $100
As you continue to explore the world of screen printing at home, you’ll likely find that custom designs can make or break the uniqueness of your projects. To help you unlock a wider range of creative possibilities, I recommend checking out some online communities or forums where artists share their experiences and tips on screen printing. For instance, if you’re looking for inspiration or want to connect with like-minded individuals in a specific region, such as Hamburg, you might stumble upon resources like sex treffen hamburg, which, although not directly related to screen printing, can lead you to discover local art events or meetups where you can learn more about visual expression and potentially find new ideas to incorporate into your screen printing projects.
Difficulty Level: Intermediate
Tools Required
- Screen printing press or a homemade equivalent (can be made from 2-in x 4-in lumber)
- Squeegee (preferably 12 inches wide)
- Ink scoop (or a similar tool for handling ink)
- Utility Knife ((with extra blades))
- Ruler or straightedge (for measuring and cutting)
- Pencils or markers (for designing and marking screens)
Supplies & Materials
- Screen printing screen (can be made from a frame and mesh fabric)
- Screen printing ink (various colors)
- Emulsion or screen coating (for creating the screen design)
- Photo paper or vellum (for creating the design to be printed)
- A light source (for exposing the screen)
- A dark room or a light-safe area (for working with emulsion)
- Newsprint or old sheets (for protecting work surfaces)
- A sink or access to water (for cleaning)
Step-by-Step Instructions
- 1. First, gather your materials, which should include a screen printing frame, a mesh screen, ink, a squeegee, and the design or image you want to print. Make sure you have a clean and stable workspace to work on, as this will be crucial for achieving professional-looking results.
- 2. Next, prepare your design by converting it into a format that’s suitable for screen printing. This usually involves creating a mirror image of your design and printing it onto transparent paper or film. You can use graphic design software to get your design ready, or work with a designer who has experience in screen printing.
- 3. Now, coat your screen with a light-sensitive emulsion, which will allow you to create a stencil of your design on the screen. This is a critical step, as it will determine the quality of your final print. Make sure to follow the instructions provided with the emulsion kit, and apply the coating evenly to avoid any imperfections.
- 4. With your screen coated, it’s time to expose the design. Place your transparent paper or film with the design onto the screen, and expose it to light using a UV lamp or the sun. The light will harden the emulsion, creating a stencil of your design on the screen. Be careful not to overexpose the screen, as this can cause the emulsion to become too hard and affect the print quality.
- 5. After exposing the design, develop the screen by rinsing it with water to remove the unhardened emulsion. This will reveal your design on the screen, and you’ll be able to see the areas where the ink will pass through. Use a gentle touch when rinsing the screen, as you don’t want to damage the emulsion or the mesh.
- 6. Now it’s time to apply the ink to the screen. Use a high-quality screen printing ink that’s suitable for the type of fabric or material you’re printing on. Apply a small amount of ink to the top of the screen, and use your squeegee to spread it evenly across the design. Make sure to apply the right amount of pressure to get a smooth, consistent print.
- 7. With the ink applied, print your design by placing the screen onto the material you’re printing on, and using the squeegee to push the ink through the mesh. Start from the top of the screen and work your way down, using a smooth and consistent motion to apply even pressure. Lift the screen carefully to avoid smudging the ink, and inspect your print to make sure it’s even and consistent.
- 8. Finally, allow the print to dry completely before handling the material or applying any additional coats of ink. You can use a hair dryer or a heat gun to speed up the drying process, but be careful not to apply too much heat, as this can cause the ink to become distorted or discolored. Once the print is dry, you can inspect it for any imperfections, and make any necessary adjustments to the screen or the printing process.
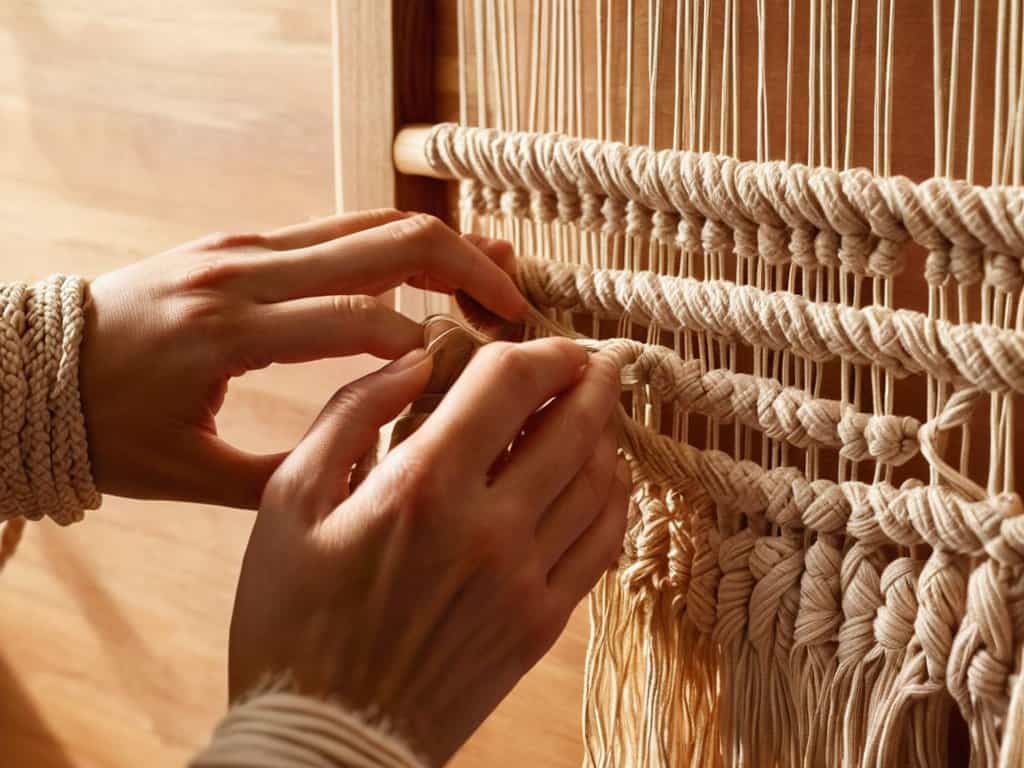
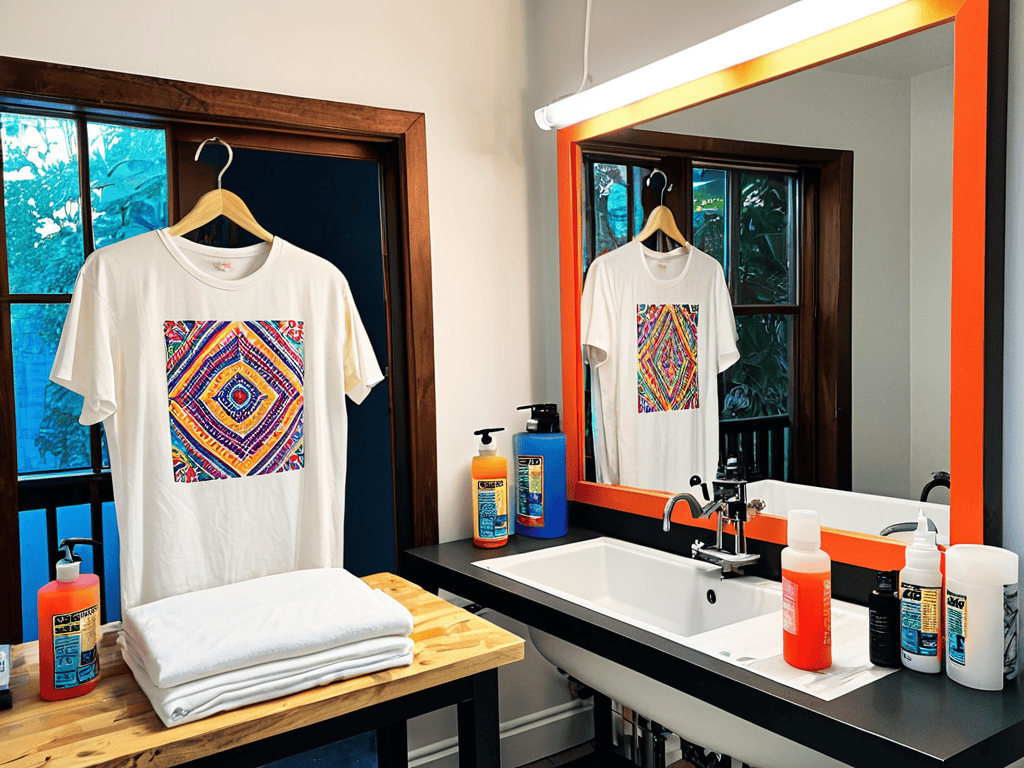
Screen Printing at Home

When it comes to achieving professional-looking results with your diy screen printing kit, it’s all about the details. One crucial step that’s often overlooked is screen printing fabric preparation. Making sure your fabric is properly cleaned, dried, and prepared for printing can make all the difference in the quality of your final product. A little extra time spent on preparation can help prevent ink from bleeding or fading, ensuring your design looks vibrant and fresh.
To take your prints to the next level, consider experimenting with different screen printing ink types. From metallic to neon, there are a wide range of ink options available that can add an extra layer of depth and visual interest to your designs. When paired with the right t-shirt printing techniques, you can create unique and eye-catching designs that are sure to turn heads.
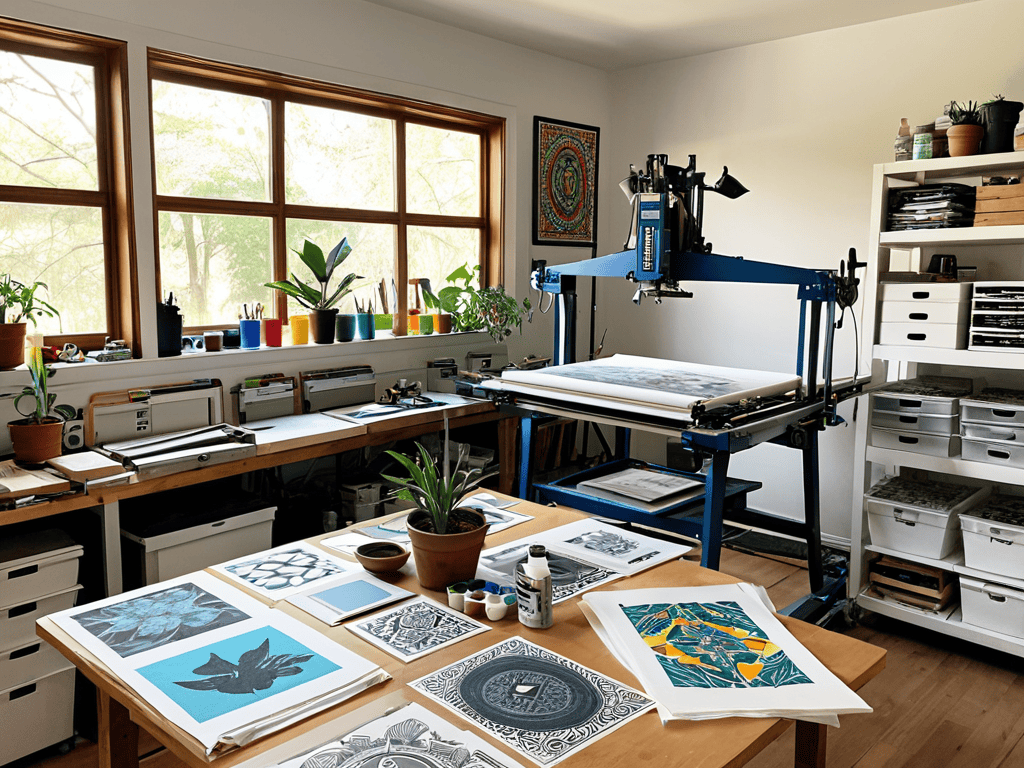
Investing in a home screen printing press can also help streamline your printing process and improve overall quality. With a press, you can achieve more consistent results and custom screen printing designs that are tailored to your specific needs. By combining the right equipment with a little practice and patience, you can unlock a world of creative possibilities and produce stunning prints that rival those of professional studios.
Mastering Custom Screen Printing Designs
To truly make your screen prints stand out, you’ll want to master custom designs. This is where the real fun begins, as you can let your creativity shine. Think about the images, patterns, or text you want to print – the possibilities are endless. You can use your own artwork, photographs, or even create designs from scratch using software like Adobe Illustrator.
Play around with different colors, fonts, and layouts to create unique and personalized designs. You can also experiment with various design techniques, such as distressing or layering, to add texture and depth to your prints. Remember, the key to mastering custom screen printing designs is to keep it simple, yet bold, and don’t be afraid to try new things and make mistakes – they can often lead to amazing unexpected results.
Unleash Diy Screen Printing Kit
To unleash the full potential of DIY screen printing, consider investing in a comprehensive kit. These kits usually include everything you need to get started, from screens and inks to rollers and frames. With a kit, you can experiment with different techniques and designs, honing your skills and developing your unique style. This is a great way to take your screen printing to the next level, allowing you to create intricate designs and patterns with ease. By having all the necessary tools at your disposal, you can focus on the creative process, bringing your ideas to life with precision and accuracy.
Ink-sider Tips: 5 Essential Tricks for Screen Printing at Home
- Start with the right fabric: Not all fabrics are created equal when it comes to screen printing, so make sure you’re using a high-quality, 100% cotton material that will hold the ink well
- Experiment with layering: Don’t be afraid to get creative and try layering different colors or designs to achieve unique, one-of-a-kind effects
- Pay attention to ink consistency: If your ink is too thick, it won’t print properly – if it’s too thin, it’ll be too transparent. Find that sweet spot for perfect prints every time
- Invest in a good squeegee: A high-quality squeegee can make all the difference in your screen printing results, so don’t skimp out on this essential tool
- Don’t overdo it: Sometimes, less is more. Avoid over-inking or over-printing, as this can lead to muddy, unclear designs that lack the crispness and clarity you’re looking for
Key Takeaways for a Successful Screen Printing Experience at Home
With the right DIY screen printing kit and a bit of practice, you can unleash your creativity and produce professional-looking prints from the comfort of your own home
Mastering custom screen printing designs requires patience, experimentation, and a willingness to learn from mistakes, but the results are well worth the effort
By following the step-by-step guide and tips outlined in this article, you’ll be well on your way to creating unique, high-quality screen prints that reflect your personal style and artistic vision
Ink Slinging Wisdom
Screen printing at home isn’t just about slapping some ink on a shirt, it’s about unleashing your creativity and bringing your ideas to life, one vibrant color at a time.
Avid Screen Printer
Conclusion
As we’ve explored the world of screen printing at home, it’s clear that this creative outlet offers a wide range of possibilities. From unleashing your inner artist with DIY screen printing kits to mastering custom screen printing designs, the process can be both fun and rewarding. By following the step-by-step guide and tips provided, you’ll be well on your way to creating unique and personalized items that reflect your style and personality. Whether you’re looking to print your own t-shirts, bags, or posters, the skills you’ve learned will serve as a solid foundation for your future projects.
So, what’s holding you back from unleashing your creativity? With the right tools and a bit of practice, you can turn your ideas into reality. Remember, screen printing at home is all about experimentation and having fun. Don’t be afraid to try new things, make mistakes, and learn from them. As you continue to hone your skills, you’ll find that the process becomes more enjoyable and the results more satisfying. Happy printing, and don’t forget to share your creations with the world!
Frequently Asked Questions
What are the most common mistakes to avoid when setting up a screen printing station at home?
When setting up your screen printing station at home, watch out for common mistakes like inadequate workspace lighting, incorrect screen tension, and poor ink storage. These oversights can lead to blurry prints, ink waste, and a whole lot of frustration. Take your time, double-check your setup, and you’ll be printing like a pro in no time.
How do I achieve consistent ink quality and color accuracy in my homemade screen prints?
To achieve consistent ink quality and color accuracy, I swear by using high-quality inks and calibrating my screens regularly. It’s also crucial to maintain a consistent environment, like temperature and humidity, when printing. And, let’s be real, practice makes perfect – experiment with small test prints to dial in your colors and techniques.
Can I use regular household items to create a DIY screen printing press, or are specialized tools necessary?
You can definitely get creative with household items, like using a hinge and some wood to make a simple press. However, for best results and to avoid a lot of hassle, investing in a few specialized tools like a screen printing frame and a squeegee is worth it.