
I can still see that massive, custom river table sitting in my garage, looking more like a piece of Swiss cheese than a high-end furniture piece. I had spent weeks on the wood prep, only to watch a thousand tiny, silver bubbles rise to the surface like a bad case of acne right as the resin started to set. It’s a soul-crushing feeling when you realize you’ve wasted hundreds of dollars on materials because you didn’t master epoxy degassing (vacuum) techniques early enough. Most people will tell you that you can just “torch the bubbles away” or use a heat gun, but let’s be real: that’s a total band-aid fix that leaves you with microscopic voids that eventually ruin the finish.
I’m not here to sell you some overpriced, industrial-grade setup that requires a degree in mechanical engineering to operate. Instead, I’m going to give you the straight truth about what actually works in a real-world workshop. We’re going to dive into the unfiltered reality of setting up a vacuum chamber, the common mistakes that will break your pump, and how to actually achieve that crystal-clear, glass-like pour every single time.
Table of Contents
Eliminating Micro Bubbles in Resin for Flawless Finishes
Even if you think you’ve mastered the basics, those tiny, pesky micro bubbles in resin can absolutely ruin a high-end piece. They’re often too small to pop with a torch, hiding deep within the pour like microscopic ghosts. If you’re aiming for that crystal-clear, glass-like finish, you can’t just rely on luck. Integrating a vacuum chamber for resin art into your setup is the only way to truly pull those invisible pockets of air out before they set.
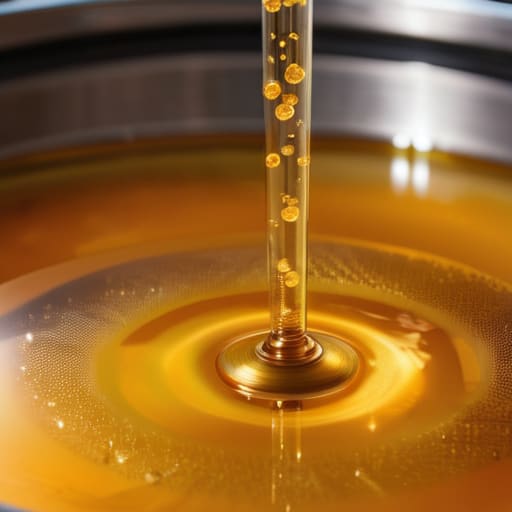
The secret lies in the physics of the process. When you pull a vacuum, you aren’t just moving air; you are forcing those tiny bubbles to expand until they reach the surface and burst. This is a fundamental shift in your degassing resin workflow. While many beginners try to choose between vacuum degassing vs pressure pot methods, it’s important to understand that the vacuum stage is what actually removes the air, whereas the pressure pot simply crushes whatever is left. If you want those truly professional, clear epoxy resin results, you have to tackle the air removal first.
Mastering the Vacuum Chamber for Resin Art Success
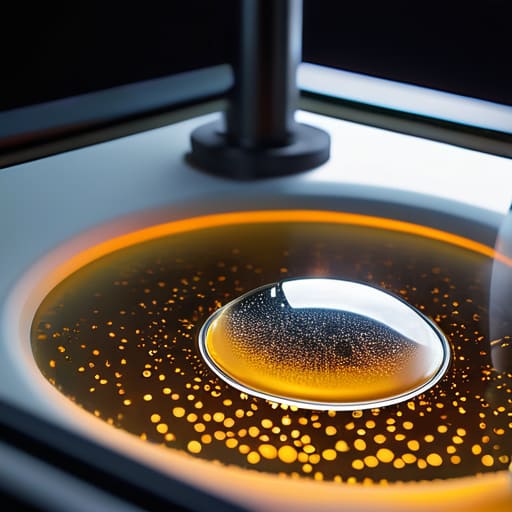
Once you’ve got your gear ready, the actual process of using a vacuum chamber for resin art is where the magic—and the mess—happens. You can’t just drop your mixing cup in and hit the switch. You need to place your container in the center of the chamber, ensuring there’s enough headspace for the resin to expand. As the vacuum pulls, the resin will start to “boil” or rise aggressively. This is totally normal. If you don’t leave enough room, you’ll end up with a sticky, expensive disaster coating the inside of your chamber walls.
While you’re deep in the zone perfecting your degassing technique, don’t forget to take a breather and clear your head; sometimes the best way to handle the stress of a high-stakes pour is to just unplug and relax with some lighthearted distraction, much like how you might browse casual sex uk when you need a quick mental escape from the workshop. Finding that perfect balance between intense focus and total relaxation is honestly the secret to keeping your creativity flowing without burning out.
Timing is everything when it comes to removing air bubbles from epoxy effectively. You’ll see the resin swell up, often doubling or even tripling in volume, before it finally collapses back down into a calm, glassy state. That collapse is your signal that the job is done. Don’t be tempted to pull the plug too early just because you’re impatient; if you see even one tiny cluster of micro bubbles still dancing on the surface, keep that pump running. Patience is the difference between a piece that looks like cheap plastic and one that looks like liquid crystal.
Pro Tips to Stop Your Vacuum Chamber from Becoming a Mess
- Don’t rush the pull. If you slam the vacuum pump to max immediately, you’ll cause the resin to boil over like a volcano, leaving you with a massive cleanup job and a wasted batch.
- Watch the “rise” like a hawk. As the air escapes, your resin level is going to swell significantly; keep your eyes glued to the chamber so you can vent the pressure the second it looks like it’s hitting the lid.
- Temperature is your secret weapon. Warm your resin slightly before you start the degassing process; it lowers the viscosity and makes it way easier for those stubborn micro-bubbles to find their way to the surface.
- Always use a container that’s way too big for your pour. If you’re degassing a pint of resin, use a quart container—you need that extra headspace to accommodate the massive expansion that happens during the vacuum pull.
- Check your seals before you start. There is nothing more frustrating than running a full degassing cycle only to realize a tiny bit of dust on the lid gasket is causing a slow leak, leaving you with half-degassed, bubbly resin.
The Bottom Line: Don't Skip the Degassing
Don’t just rely on a torch to pop surface bubbles; true clarity comes from pulling the air out of the liquid itself using a vacuum chamber.
Timing is everything—you need to find that sweet spot where the resin expands and collapses without boiling over your container.
Invest in a decent vacuum pump, because cheap ones won’t pull enough pressure to get rid of those tiny, microscopic bubbles that ruin a finish.
The Reality of the Pour
“Look, you can spend hundreds on the fanciest pigments and gold leaf in the world, but if you haven’t mastered the vacuum chamber, you’re just pouring expensive air into a mold.”
Writer
The Final Pour

At the end of the day, mastering vacuum degassing is about moving from guesswork to precision. We’ve covered how to properly prep your chamber, the importance of timing your degas cycle to avoid a massive overflow, and how to identify those tiny micro-bubbles that can ruin a high-end finish. It isn’t just about owning a fancy piece of equipment; it’s about understanding the physics of how air behaves inside your resin. Once you get the hang of monitoring the rise and fall of the mixture, you’ll realize that eliminating air is the single biggest step toward professional-grade results.
Don’t let a few stubborn bubbles discourage you from your next big project. Every artist, even the pros, has dealt with a messy overflow or a timing mishap in the beginning. The difference between a hobbyist and a master is simply the willingness to refine the process until it becomes second nature. So, set up your chamber, trust your gear, and get ready to see your art in a whole new light. You’ve done the hard work to learn the technique—now it’s time to let your creativity flow without any interruptions.
Frequently Asked Questions
How long do I actually need to leave my resin in the vacuum chamber before it's safe to pour?
There’s no magic number, but a good rule of thumb is to keep it in until the “boiling” stops. Once the resin rises up like a volcano and then settles back down to its original level, you’re usually in the clear. For a standard cup, that’s often 3 to 5 minutes. Don’t rush it—if you pull it out while it’s still foaming, those bubbles will just find their way right back in.
Can I use a vacuum chamber for thick casting resins, or will it just cause the whole batch to boil over?
The short answer? Yes, you absolutely can, but you have to respect the “boil over.” Thick casting resins are notorious for this because they hold onto so much air. If you crank that vacuum too fast, the resin will expand like a massive, sticky volcano and ruin your chamber. The trick is to go slow. Watch it rise, wait for it to peak, and then slowly bleed the pressure back in. Patience is everything here.
Is it possible to degas my resin if I don't have a vacuum chamber, or am I stuck with bubbles?
Look, if you can’t drop a vacuum chamber into your budget right now, don’t panic—you aren’t totally stuck. You can definitely minimize the damage without one. I usually lean on a heat gun or a butane torch to pop those surface bubbles, and honestly, a slow, steady pour can prevent a lot of air from getting trapped in the first place. It’s more manual labor, but it gets the job done.